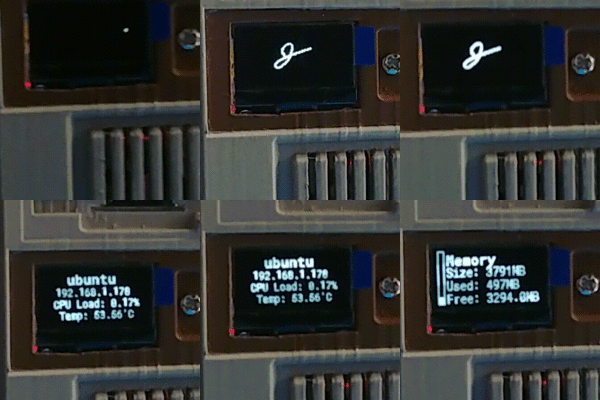
The pi486
2021-09-19
A long time ago (about 30 years) in a galaxy far far away (actually the same galaxy, about 12 miles from here give or take) I bought myself my first modern (for the time) PC. It was an Intel 486DX2 (25mhz/33mhz) powered MS-DOS/Windows 3.1 PC with 4MB of memory and a 245MB Connor IDE hard drive. It took me a long time to save up for it, but oh was it glorious! My brother's Tandy 1000 EX was the first PC in our house. The 486 PC was the first PC that was actually mine! That makes it special, which is what brings us to the purpose of this post!
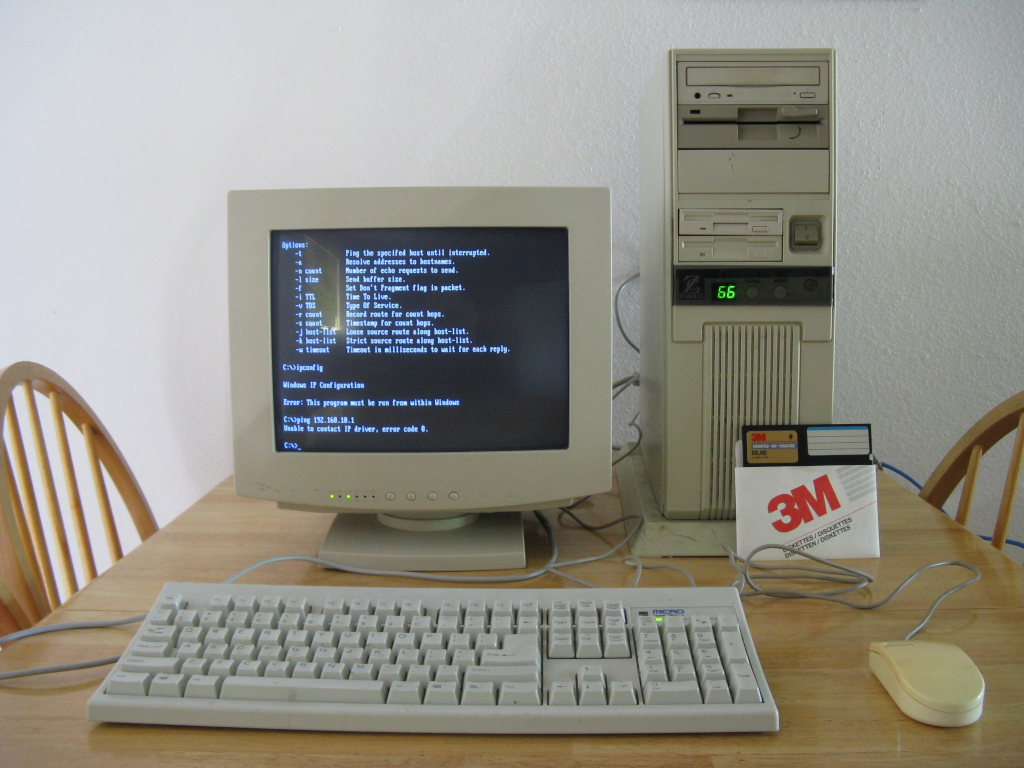
My first 486 had this same case. It was the inspiration for the pi486.
Fast forward to modern times (well late 2019/early 2020 anyway). I had a room in my house that was previously my "work at home" room when I worked at Hewlett Packard, since they let us work from home one or two days a week. I hadn't really used the room that much since I left HP in 2013, but thanks to my friend John's efforts I had recently become hooked on micro-controllers and the like and I needed a space to experiment. My plan was to turn the room into my nerd workshop, including a soldering station, magnifier, 3D printer, and a computer I could use to program the micro-controllers and such. The Raspberry Pi 4 had just been released a few months earlier and I thought that would make a great machine for the nerd workshop instead of a full PC. I wanted something different than the standard Raspberry Pi cases that existed, and since I was getting a 3D printer for my workshop why not design a custom case. And what better custom case then one that was a throwback to my first PC! Thus the pi486 was born!
The plan was to take the design of my original 486 and cut it down some to be as small as possible. Since i was going to be doing coding and, potentially 3D modelling/slicing, on it the machine would need some more reliable storage than the Raspberry Pi's micro SD card as well. This meant leaving room for a 2.5 inch hard drive that could be connected to the Raspberry Pi via a SATA to USB3 adapter. Also, since the Raspberry Pi 4 runs a little hotter than the previous models, having room for a fan in the case was probably not a bad idea either. After that some decisions were made that were more cosmetic to fit the 486 tower case motif then anything. For example, the speed display on old 486 PCs that showed the current clock speed. I thought about adding a 2 character 7 segment display to appear like the original speed display, but I decided on a .96 inch blue and black OLED screen that could show more information; a modern interpretation of the old speed display. Also, for ease of access if necessary, I installed a micro SD card slot extender and mounted it behind where the 3.5 inch floppy drive would sit in the case so that you put the micro SD card in by pushing it into the floppy drive. It felt like a nice touch.
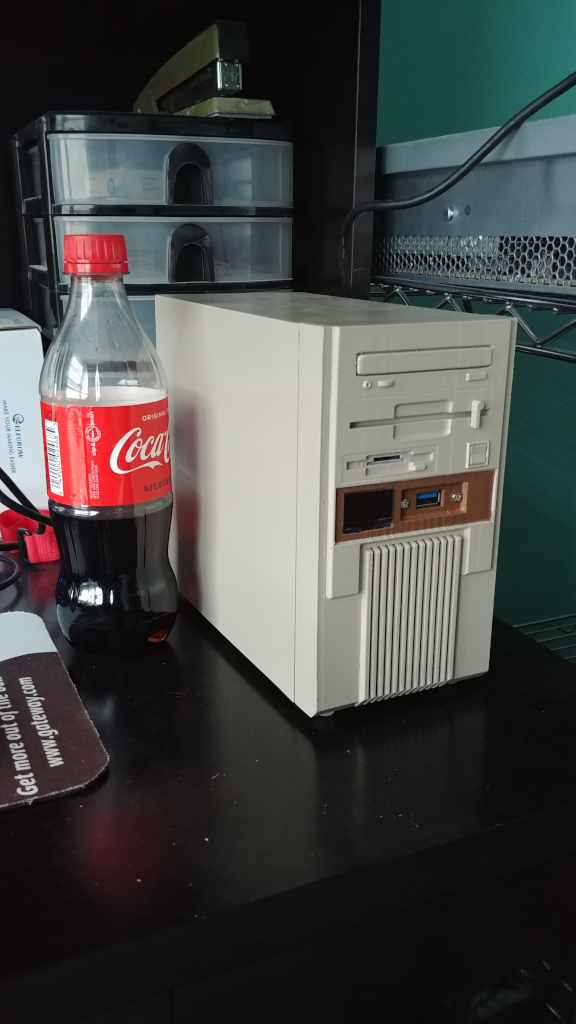
I designed the case in Tinkercad and sliced it with Cura. I designed it in 3 pieces: A tray/back panel to hold the Raspberry Pi and HDD, a front panel with slide rails for the tray to fit into, and a cover to sit over the tray and front panel to hold it all together. Naturally the cover would go on like the cover of the original 486 tower PC. I tried to make each piece as simple and basic as possible, though the front panel had a lot of detail. Still, each piece took at least 24 hours to print. Like any retro PC case it could only be beige, and since I didn't have beige filament at the time I printed it in blue and then primed/painted it beige, with the stripe across the front being brown.
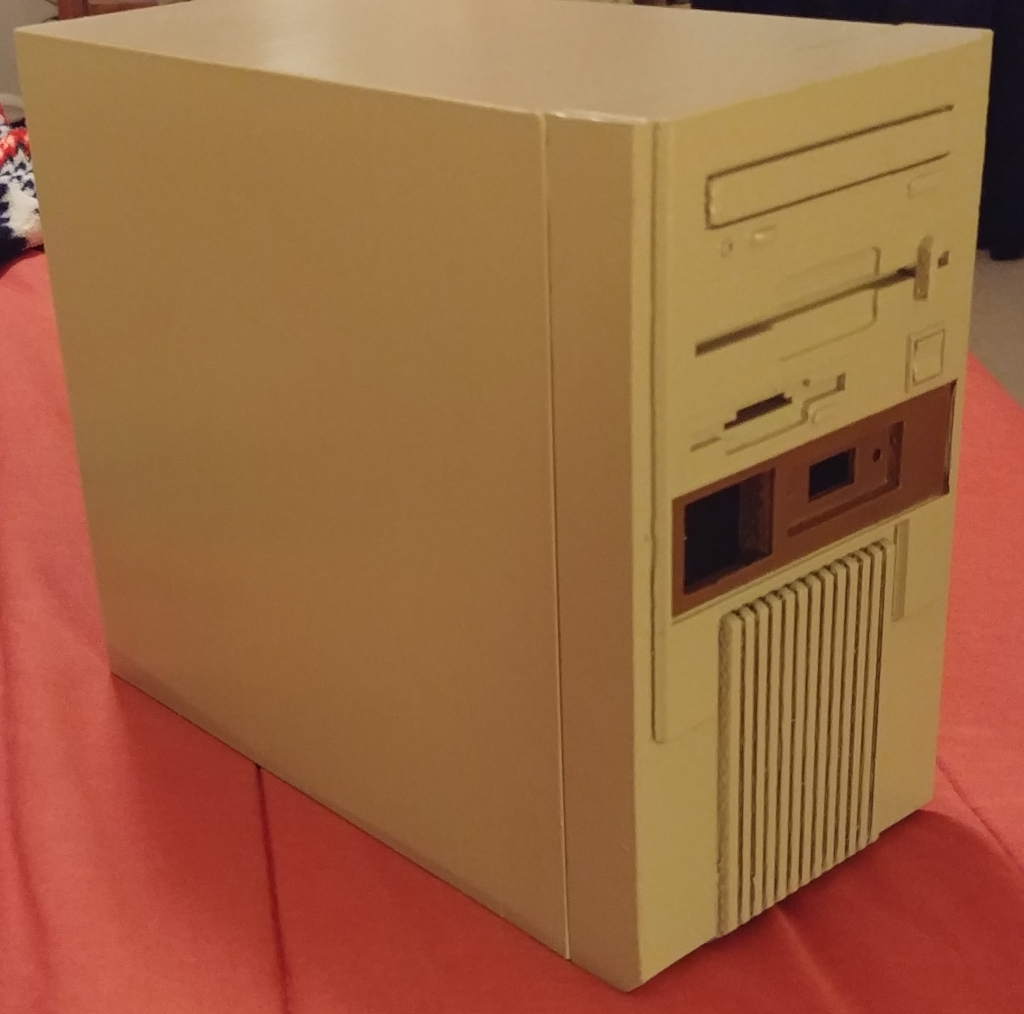
With the case printed and painted it was time for assembly. Everything fit neatly inside, with room to spare. A small fan was added to the case and wired to the Raspberry Pi's 5v and GND pins so that it's always running when the pi486 is on, and it makes a noticeable difference. Without the fan the Raspberry Pi averaged around 50C with normal use, but with the fan running it runs around 40C instead. The OS is Raspbian Buster, with a custom python script that runs on startup to drive the OLED screen. The OLED screen cycles through several information screens including System Information (Hostname, CPU load, CPU temperature, and IP Address) and Filesystem Status (one screen for each filesystem showing name, mountpoint, size, and free space). The power switch on the front is just decorative, so I added a USB power button between the power supply and the pi486.